It is common practice to “bench test” radios in a lab, office, or other close-proximity environment prior to installation at the site.
Bench test performance can be misleading due to severe multipath and near-field issues characteristic of such environments
For Best Results…
-
Keep distance between radios as far apart as possible (ideally >25 meters).
-
Do not allow the RSSI levels to exceed -30 dBm.
-
Use cardboard boxes and other non-metallic objects to attenuate the LOS and reflected signals.
-
Even if these guidelines are followed, the wireless performance (i.e. throughput, packet loss, latency, and jitter) is typically worse than would be expected for a well-designed link in a real-word environment.
Another thing to consider is the performance capabilities of the computers used to do these tests. With multi-gig speeds, the performance of the transmitting and receiving computers need to be considered.
-
First connect directly from the server to the client device (wired) to make sure both computers can really support the testing speeds you are after. This will give you a baseline to work with. Then after setting up the wireless link, you can use the baseline to see if there is any degradation (or how much) is coming from the wireless link.
-
Using 2.5gbps ETH to USB adapters. Note, USB 2.0 will not support speeds above 1gbps so USB 3.0 or better is required. It’s common for computers with multiple USB ports to have some USB 2.0 and some USB 3.0. Make sure you use the 3.0 or better port.
-
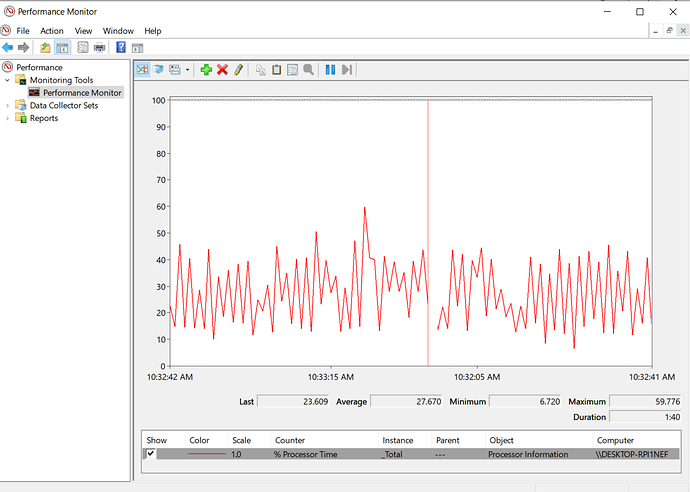
Check the CPU utilization monitor to make sure it isn’t exceeding 50%. If it’s exceeding 50%, there is a chance that the packet loss is coming from being unable to process all the data coming in.
